
You are currently browsing the category archive for the ‘Baking’ category.
We are blessed to live in a pretty cool neighborhood. We enjoy it very much. It’s pretty “diverse.” Although sometimes it might be comforting, we aren’t necessarily surrounded by people who share the same backgrounds or viewpoints that we do, but that doesn’t mean that we aren’t friends. We love where God has placed us at this time & that he gives us opportunities to act out what it means when he calls us to be salt & light. (And we REALLY love our neighbors!!) One of the cool things our neighborhood does is have a community-wide yard sale event every year. We had not had the opportunity to participate or experience it before. This year there were approximately 250 houses that had yard sales & its estimated that about 15,000 people come to the event. We had our first yard sale this weekend as part of the event. We hoped to raise a lil lump to start us off on our adoption fund. I honestly prayed (selfishly, but boldly) that we would be able to make $1000. I thought that seemed like a pretty impossible amount for a yard sale. I mean most people I talk to make a couple hundred bucks. $500 would be a great yard sale. When we added up at the end of the day the total was $1000.95. I laughed out loud. Thank you Lord! Thank you for your provision, thank you for your encouragement, & thank you for sustaining us.

So that lump plus what we can squeak out of the budget this month plus some extra from some extra work Nick did gets us almost there for that first $2500 fee. I’m filling out paperwork to begin a lil work as soon as possible, but regardless I think by next month we’ll have that covered & get to move on to the “home study.” Hooray! Praise The Lord with us!
It’s strawberry season here in NE TN & we Hagemeiers are LOVING it!
We planted our first patch last year & so this is our first crop. I believe we (read I/mom as its entirely too much effort for the kiddos to pick more than the few they are gonna eat) have picked 8 quarts now in the past week & half.
Along with growing strawberries, we really like to eat them! In various ways, like… Strawberry jam:

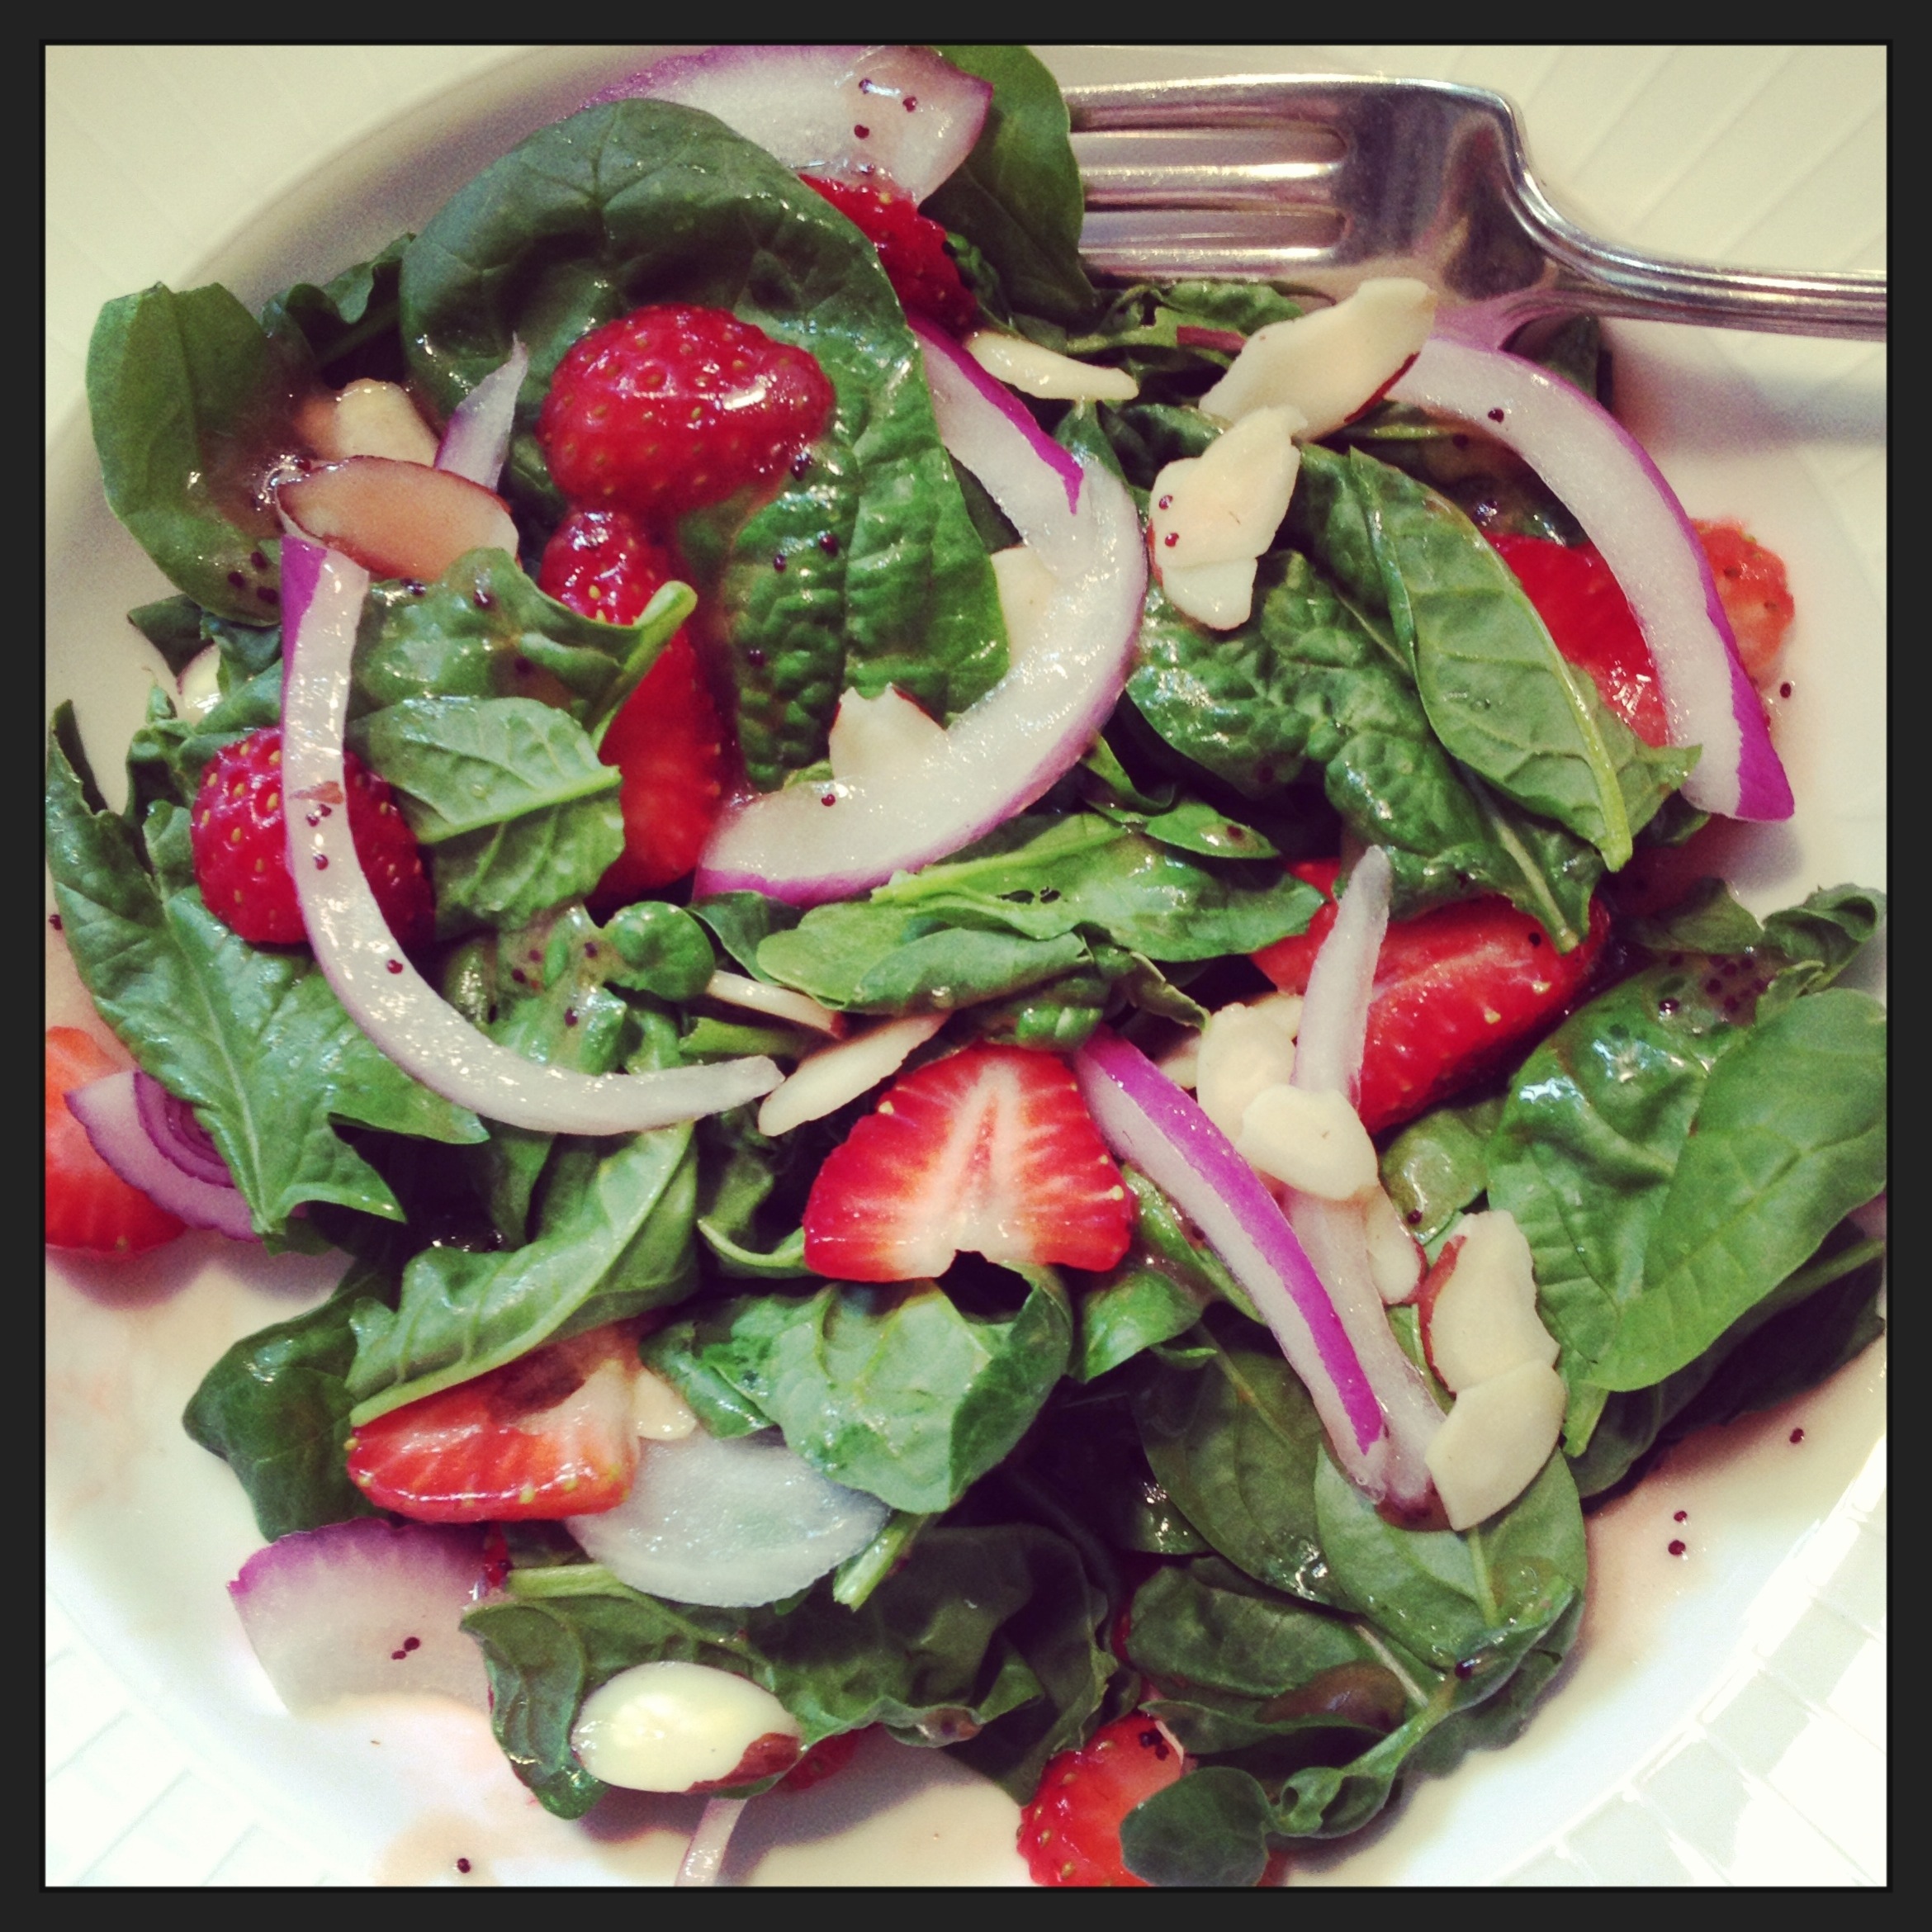
And spinach & strawberry salad:
Strawberry lemonade (2 c fresh squeezed lemon juice, 2 c sugar, 12 c water. Pour some in a glass & top with a couple spoon fulls of puréed strawberries mixed with a wee bit of sugar):

And strawberry streusel bars (recipe here) *I altered 4 oz to 12oz jam & used dark chocolate instead of white because that’s what I had.

AND Strawberry shortcake cake! A pioneer woman favorite. (recipe here)

If you try some of these out-let me know what you think! I bet they’ll be favorites in your house too! 🙂
Snow man pretzels are a favorite at our house & everyone wants some to take to school when it’s their turn for snack. These are not too difficult or too time consuming, but I will say they get faster/easier the more times you make them.
You’ll need white chocolate or candy coating like this:

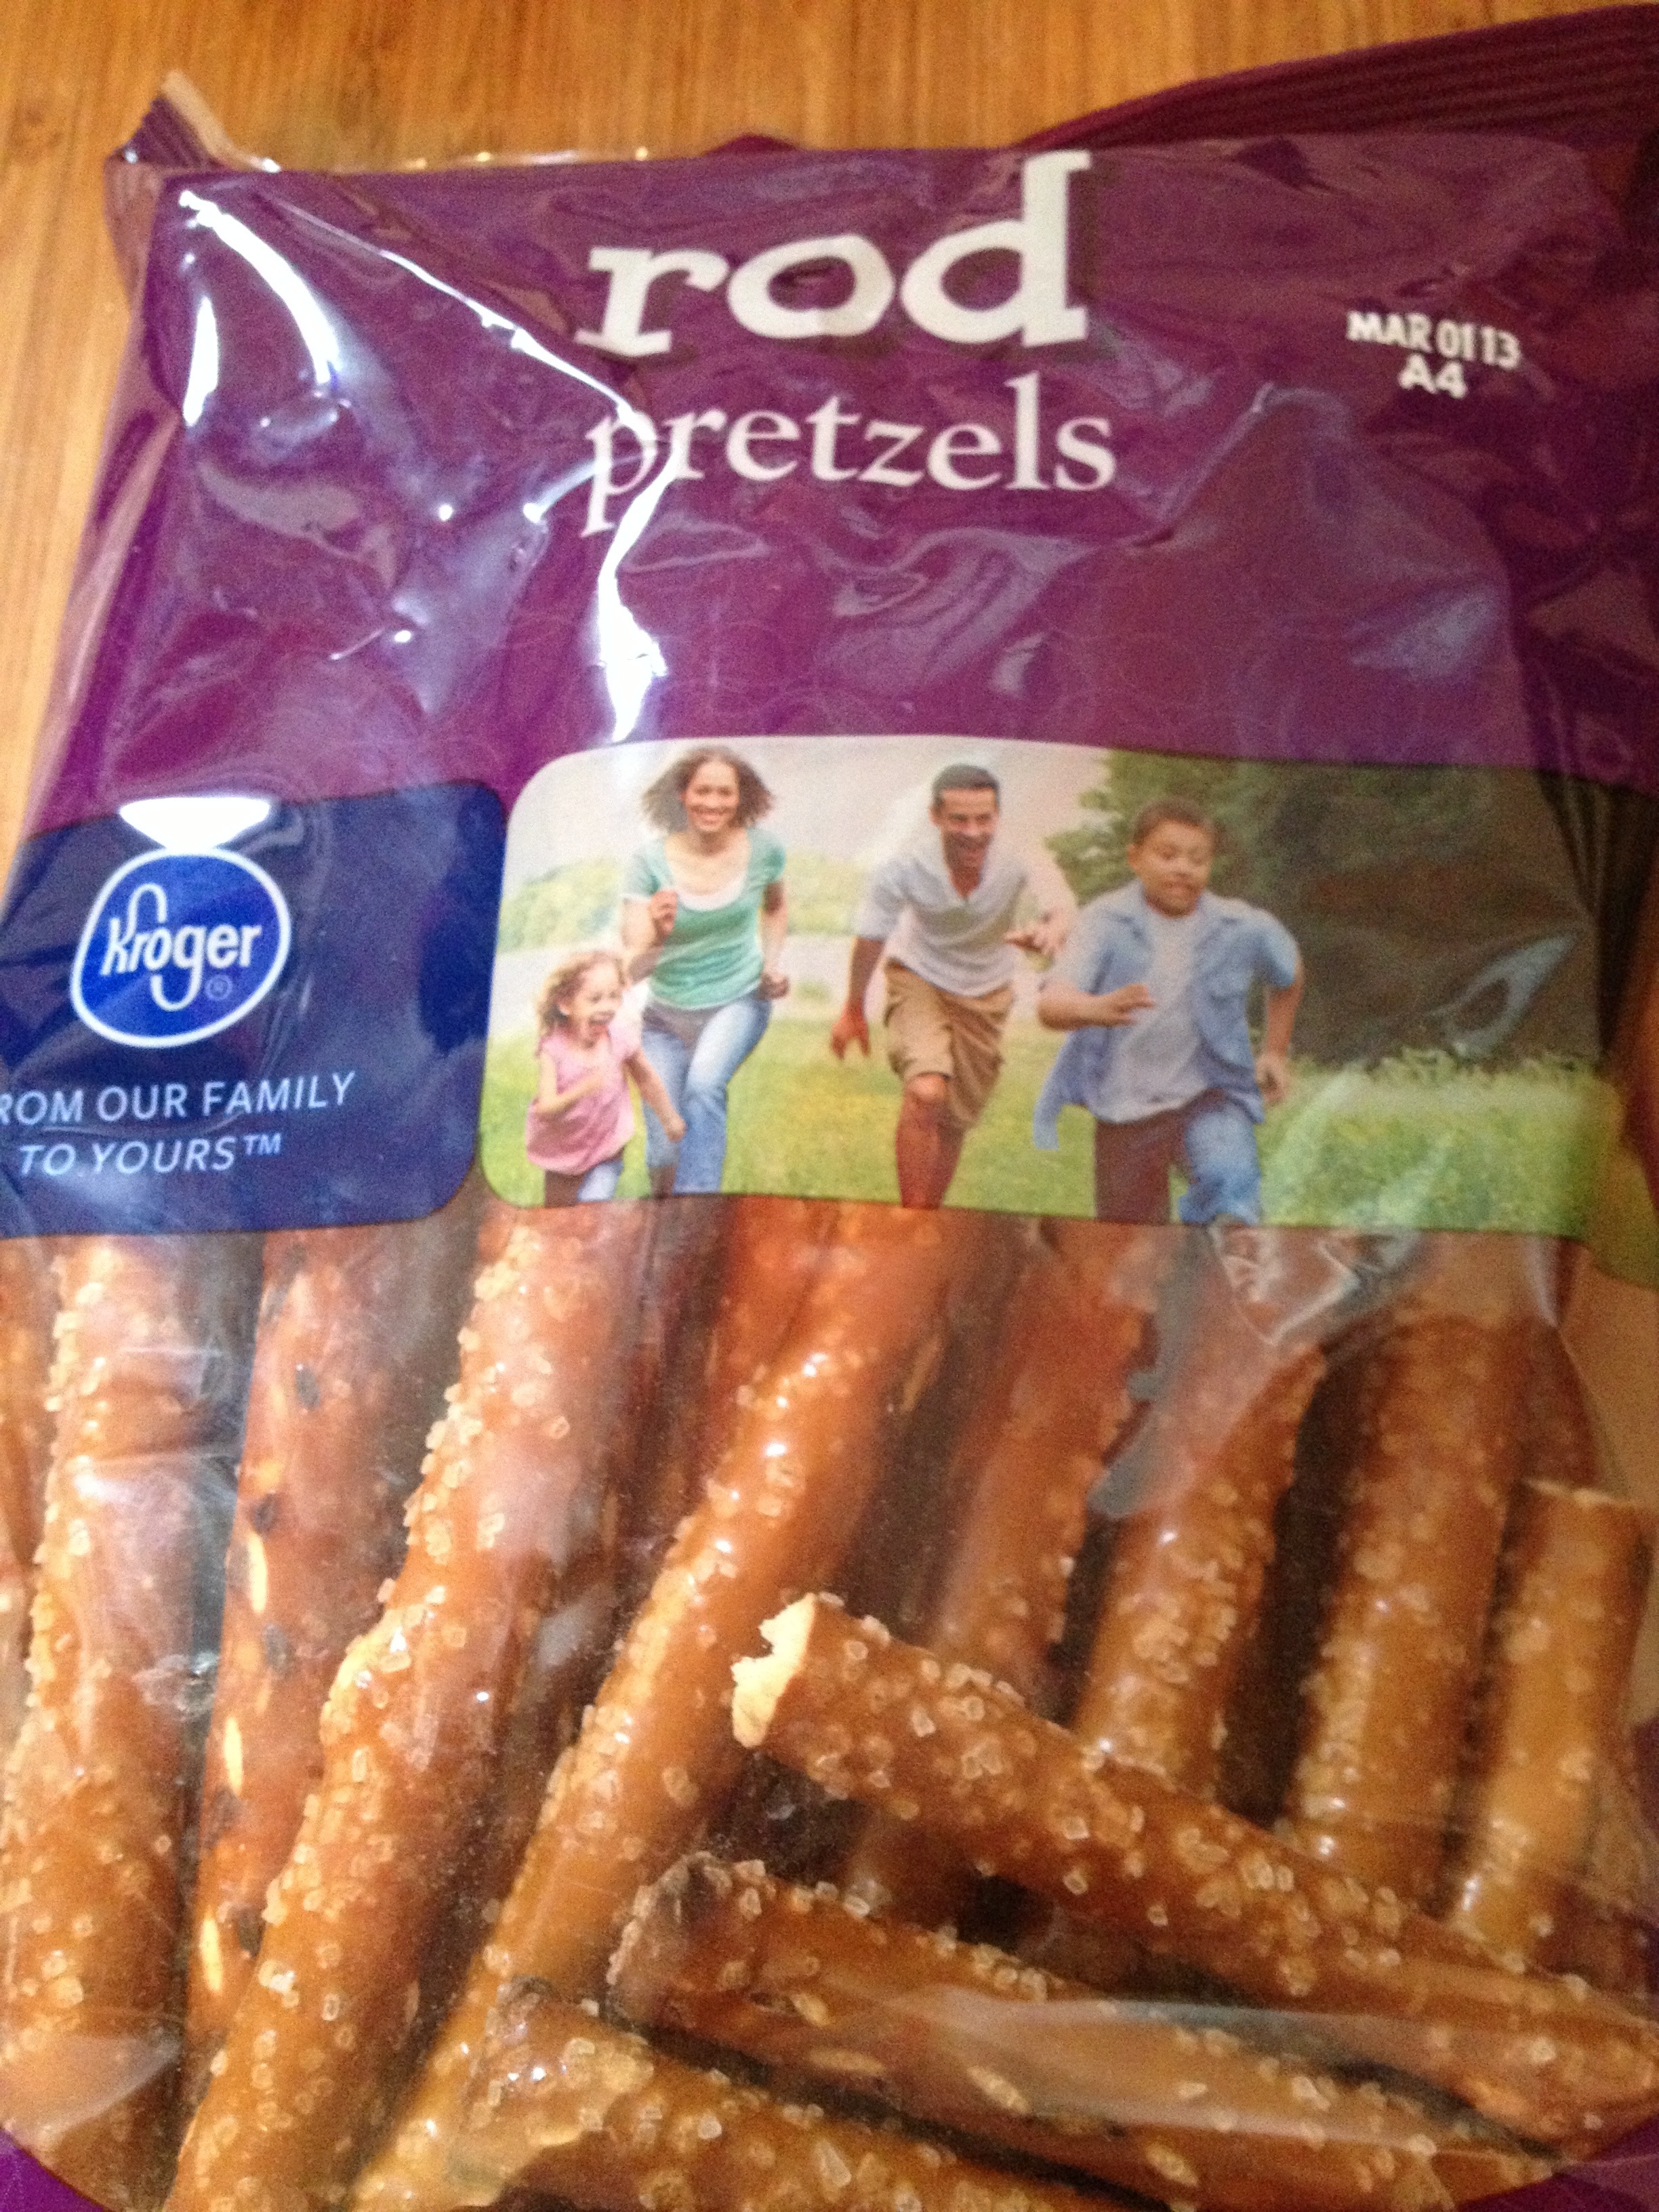
Pretzel rods:
Mini chocolate chips for eyes & “buttons:”

Peach rings or other gummy rings for hat brims:

Gum drops for top of hats:

Fruit roll up type candy for scarves:

And finally a tube of orange gel “icing” for the noses:

Begin by melting some of the white stuff per package directions. I chose to do mine in the microwave in a 2 cup liquid measuring cup as I’ve found it to be the best size for coating my pretzel rods. I like to use a plastic spoon to stir & coat with for easier clean up later-one less thing to wash! After your white stuff is melty, dip one end of a pretzel rod into it & using a spoon or spatula, bring it up on the pretzel to cover most of it, just leaving a small part at the end to hold onto. Then remove it from the white stuff & after most drips are done, carefully lay it on a piece of wax paper. I like to do about 3 (so it starts to thicken/dry, but not too much so the choc chips won’t stick either) & then place 2 mini choc chips near the top for eyes & 3 down lower in a row for buttons. Like this:

When you’ve done all that you desire, gather some shortish glass cups if you have them handy as they’ll help you out for the next step. Next, fit a peach ring around the very top of the pretzel. Put a little dab of the white stuff on top in the “hole” of the ring (on the snowman’s head) then place a gum drop on it. Hold it for a couple seconds to let become slightly set, then carefully place in one of your glasses to let dry completely while you continue your fun. Like this:

Next make scarves. I used regular fruit roll ups. I unrolled them & then using kitchen shears, I cut each fruit roll up into 6 skinny pieces. Take one & wrap around the snowman’s “neck”- twisting at one side & apply slight pressure to the “knot” (twist) to sorta smoosh the fruit roll up & cause it to stay in place. Let the 2 ends sorta dangle to the side. Gently lay the snowmen back onto the wax paper as you dress them in their scarves. Finally, put a little dab of orange gel icing on as a nose & let dry. Like this:

And you’re done! Snowman army. Ready for first grade!!

Special thanks to Stef B for the inspiration for this snack a couple years ago! Brilliant woman-especially, but not limited to all things kitchen… & all things math! 😉
My mom {you could say} is a baking genius. She’s pretty good. Here are 2 recipes that I love from her.
One Bowl Chocolate Cake
2c. Sugar
2c. Flour
1/2 c. Cocoa
1 1/2 tsp. Baking Soda
1 1/2 tsp. Baking Powder
Dash Salt
3/4 c. Oil
2 Eggs
1 tsp. Vanilla
1 1/2 c. HOT WATER
Combine first 6 ingredients. Then add last 4 ingredients. Beat. Bake at 350 degrees. 9×13 pan – 30-40 min & regular Cupcakes 20 min; minis 15 min.
Chocolate Chip Cream Cheese Cupcakes
8 oz pkg cream cheese
1 egg
Dash salt
1/3 c sugar
16 oz pkg mini choc chips
Make a chocolate cake batter. (Can be a mix or one like One Bowl Chocolate Cake.) Mix all cream cheese ingredients. Fill cupcakes 1/2 full with chocolate cake batter. Drop 1 heaping teaspoon (for reg cupcakes & 1/2 teaspoon for minis) of cream cheese mixture into cupcakes. Bake according to cake recipe.
No need for icing. These are delicious enough as they are!

For Nick’s birthday, I made these for him to take to work. These cupcakes are a coffee lover’s dream! With a hint of cinnamon & some chocolate…they are scrumptious. Original recipe was taken from The Pioneer Woman’s website maybe 2 years ago?… The only things I changed are that I put half the Via called for in the frosting & I thought the frosting needed chocolate. I mean everything is better with some chocolate (in my book,) right?! So I put some cocoa powder in the frosting too. I know some may be annoyed, but I didn’t measure it. I just took the canister & shook some in. Maybe 1/3 cup?… Whatever works for you! 😉
Via Cappuccino Muffins
For the muffins:
2 pkgs Starbucks Via Instant Coffee
1/2 c warm milk
1/4 c melted butter
1 egg
1 teaspoon vanilla
1 c flour
1/3 c sugar
1 1/2 teaspoon B pwdr
1 teaspoon cinnamon
1/2 teaspoon salt
1 c chocolate chips
For the Icing:
1/2 c butter, softened
2 c pwdr sugar, or more as needed
1/2 teaspoons vanilla
2 pkgs Starbucks Via Instant Coffee
1 tablespoon boiling water
Instructions:
Dissolve Via in warm milk. Combine melted margarine, egg, & vanilla with Via/milk.
In another bowl, combine flour, sugar, B pwdr, cinnamon & salt. Pour wet ingredients into a well in the center of dry ingredients & stir well to incorporate completely. Finally, stir in the chocolate chips.
Fill muffin tins or papers 2/3 full & bake at 375 for 17-20 minutes.
Cool completely.
To make frosting-start by beating together the butter, powder sugar & vanilla. In a small bowl, mix the Via with the boiling water until coffee is dissolved. Add it to the butter mixture and mix until fully incorporated. (Here’s where I dumped in some cocoa pwdr & a tiny bit of milk to get the right consistency.)

Just for fun I put one Trader Joe’s Espresso Pillow on each cupcake because I happened to have some.
There you have it. Grown up cupcakes. 🙂
There is a most amazing woman who became one of my favorite people almost the moment I met her. Then she gave me this recipe & I have never looked at cake the same way. Some cakes are about the cake. But some cakes…well they are about the icing! That’s this cake. Thank you Etta for this-a family favorite! This was Fritzy & Nick’s birthday cake this year.

Etta’s Candy Bar Cake
1 box chocolate cake mix
-Prepare according to directions on box. Pour into 3 greased round cake pans & bake at 325 for 20-25 min. Cool.
(You could of course make a homemade cake here too…)
Icing
8 oz cream cheese
1 cup powdered sugar
1/2 cup white granulated sugar
1 large Hershey bar
12 oz cool whip
Beat cream cheese & the sugars until creamy. Chop or shave Hershey bar finely. Fold cool whip & candy bar into cream cheese mixture. Save some of the chocolate candy bar curls for garnish. Keep in refrigerator until serving time.
**no fat free ingredients!! The icing will not work-it’ll run off the cake.

Clara liked it. 😉

Many people have asked for the pumpkin bar recipe. Sorry I am forever slow. Here it is along with the hot, spiced cider we like.
Pumpkin Bars
(As taken from “Our Mothers’ Legacies/Recipes from the Robison family & friends”)
(-submitted by Karla Schmidt)
4 eggs
1 2/3 c sugar
1 c oil (I use canola)
16 oz pumpkin (my can only had 15oz & worked fine)
2 c flour
2 teaspoons b. powder
2 teaspoons cinnamon
1 teaspoon salt
1 teaspoon b. soda
Cream Cheese Frosting
Beat together eggs, sugar, oil & pumpkin until light & fluffy. Stir together flour, b powder, cinnamon, salt & b soda. Add to pumpkin mixture & stir thoroughly. Spread in greased 15″x10″x1″ pan & bake at 350 for 25-30 minutes. Cool completely & frost with cream cheese frosting.
Cream Cheese Frosting
(As taken from “Our Mothers’ Legacies/Recipes from the Robison family & friends”)
(-submitted by Karla Schmidt
3 oz cream cheese
1/2 c margarine or butter, softened
1 teaspoon vanilla
2 c powdered sugar
Cream together cream cheese & butter. Blend in vanilla. Add powdered sugar a little at a time, beating well until mixture is smooth.
(I always double this recipe as I have found it difficult to spread without tearing up my pumpkin bars & if a little cream cheese frosting is good, then more is better….right?! So when I make the doubled recipe, 4 c powdered sugar is the same as a pound(or close enough.) and I always use real butter 😊)
Hot Spiced Cider
(Adapted from Williams-Sonoma After Dinner Cookbook)
6 c apple cider
3 cinnamon sticks
~30 whole cloves
Small handful crystallized ginger
Combine ingredients in a heavy saucepan. Heat to boil & simmer gently about 30 minutes. Serve warm. Can garnish with some of the spices.
Williams-Sonoma says you can add 2 tablespoons Calvados or other apple brandy into each serving mug, but we have never tried this as we have always served it with our kids/family.

I love my husband. 💗 He loves sour dough bread. When we moved to Johnson City, we missed our local bakery’s sour dough. We tried multiple loaves from stores & the farmer’s market. They just weren’t the same. Thus began my quest to make a sour dough bread that my sweet husband would love. I found a recipe & messed with it a bit before we came to this…our version of soft sour dough bread.
Ingredients:
1 1/2 c warm water
1 teaspoon rapid rise yeast
1 c sour dough starter
1/2 c canola oil
1/3 c sugar
1 tablespoon salt
7 c flour (plus more for rolling out)

This is my sour dough starter. I leave it on my counter all the time. I feed it once a week with 1c warm water, 3/4c sugar & 3T potato flakes. It then has to sit for at least 8 hours before you can use it.
When it is not being used it needs to be able to release the air the lil yeasties create so you need a lid with holes in it. My husband punched holes in this one for me:

Having a Kitchen Aid stand mixer is really handy for the mixing process.

Start with the warm water & sprinkle the yeast over. While it dissolves for a minute, grab your other ingredients.

Put a solid lid on the sour dough starter jar & shake it to mix well. Add 1c to the water/yeast.

Add 1/2c oil.

1T salt.

1/3c sugar

Mix that all well with the whisk attachment.

Add 4c flour & mix well still with whisk attachment.

Add 3c more flour & mix well with dough hook attachment.

Turn speed up to medium & let the dough hook “knead” the dough for a few minutes.

Spray the top of the dough with oil & cover with wax paper to let rise overnight. (I usually mix it up in an evening.)

Big, happy dough in the morning. 🙂

Punch it down! Take out any anger or aggression. Clara loves to help with this part.

Divide the dough in half. Roll out one half into roughly a rectangle, being careful to try to remove any large air bubbles.

Tightly roll the dough into a long roll, pinching the seams & then turn under each end & pinch to form your loaf.

Repeat with other half of dough & place both with pinched seams-side down into greased loaf pans. Spray tops with oil & cover with wax paper. Let rise until doubled in size. (This mainly depends on the environment. In winter/cold temps I can let it rise all night without it getting too big, but in summer/warm temps it only takes 4 or maybe 6 hours.)

When the loaves have risen sufficiently, bake at 350 for about 45 minutes or until done. Turn out immediately onto cooling rack & cool completely.
I find it keeps best in a gallon size freezer baggie, but it’s usually too big for it. Thus we often consume a little first (ie make sandwiches for packed lunches the next day.)
It is best fresh, but also makes good toast, yummy French toast & tasty croutons when the freshness has left it.
You can use the sour dough starter to make lots of other recipes too. I’ve used it to make buns, fancy pigs in a blanket, lemon loaf & home made sour dough English muffins.
If you live close & would like to try it yourself-please let me know! I often have extra sour dough starter & would be more than happy to share & get you started!

But he answered, “It is written, ‘Man shall not live by bread alone, but by every word that comes from the mouth of God.'”
Matthew 4:4
